
How to make microgreen powder? Do you love the taste of fresh microgreens but don’t have time to grow them yourself? Well, you’re in luck! In this blog post, we will show you how to make your own microgreen powder. Some of the most popular ways that microgreens are used are by creating a powder that you can put in different smoothies or soups.
They can also be stored as a flake similar to traditional dry herbs that can be added to salads or be used as seasonings in various recipes Also everything you need to know to start dehydrating your own backpacking meals. So let’s get started!
It’s easy, and it only takes a few minutes. Plus, you can use whatever microgreens you like. I have found for myself that I do enjoy a healthy smoothie in the morning with lots of greens and a little fruit.
Today with all the toxins in the environment cleaning out your system will for sure make you feel a whole lot better. This is a great way to get all the benefits of fresh microgreens without having to spend time.
How Do You Dehydrate Microgreens?
Basically, dehydration is the process of removing moisture/water from the plant/food, helping to preserve it for storage.
There are many different methods used for dehydration. They vary in their simplicity and, depending on the type of food you are drying, in their effectiveness.
We will go through two ways you can do it at home in a simple way:
- Using a Dehydrator
- Using a household oven
How to Dehydrate Microgreens with An Dehydrator
Prepare the Dehydrator
Just like using an oven, it’s recommended to turn on your dehydrator to warm up to the required temperature before adding the microgreens. While it’s getting heated up, you can make all the preparations.
Prepare Your Microgreens
Before you place your microgreens in the dehydrator, wash them and ensure that they are clean from any medium (such as soil). Remove the stems and just use the part of the microgreens you want to dry.
Place your microgreens between sheets of paper towel to dry. The less moisture there is on the leaves, the less time they’ll need in the dehydrator.
Get It Started
Make sure you have set the right temperature. Depending on the type of dehydrator you are using, the temperature and time required may vary. Always check the guidelines/manuals to ensure that it’s prepared for microgreens. If there is no guidance for microgreens, you can refer to herbs and set the temperature just slightly higher.
In general, you would use a temperature of 100F to 130F.
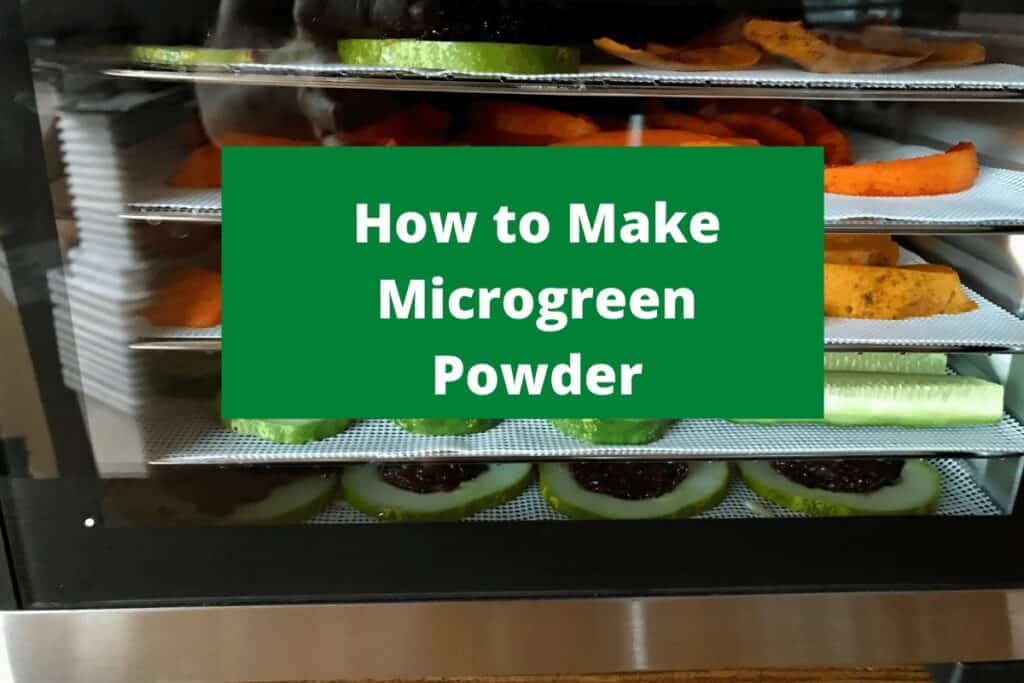
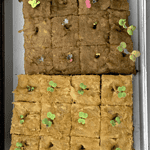
Spread the microgreens in a single layer in your dehydrator and make sure they don’t overlap. You have to consider that it will take a couple of hours for it to be ready. If you see that the microgreens are still soft, you can run them for a while longer. Once they are done, you will find that you have some crunchy microgreens in reduced size.
If you use your dehydrator between two and three times, you should be able to fill a quart-sized jar quickly. The total volume you will end up with is depending on the size of your dehydrator. It’s not unlikely that you will have to dedicate at least a full day to have a suitable amount.
The Final Result
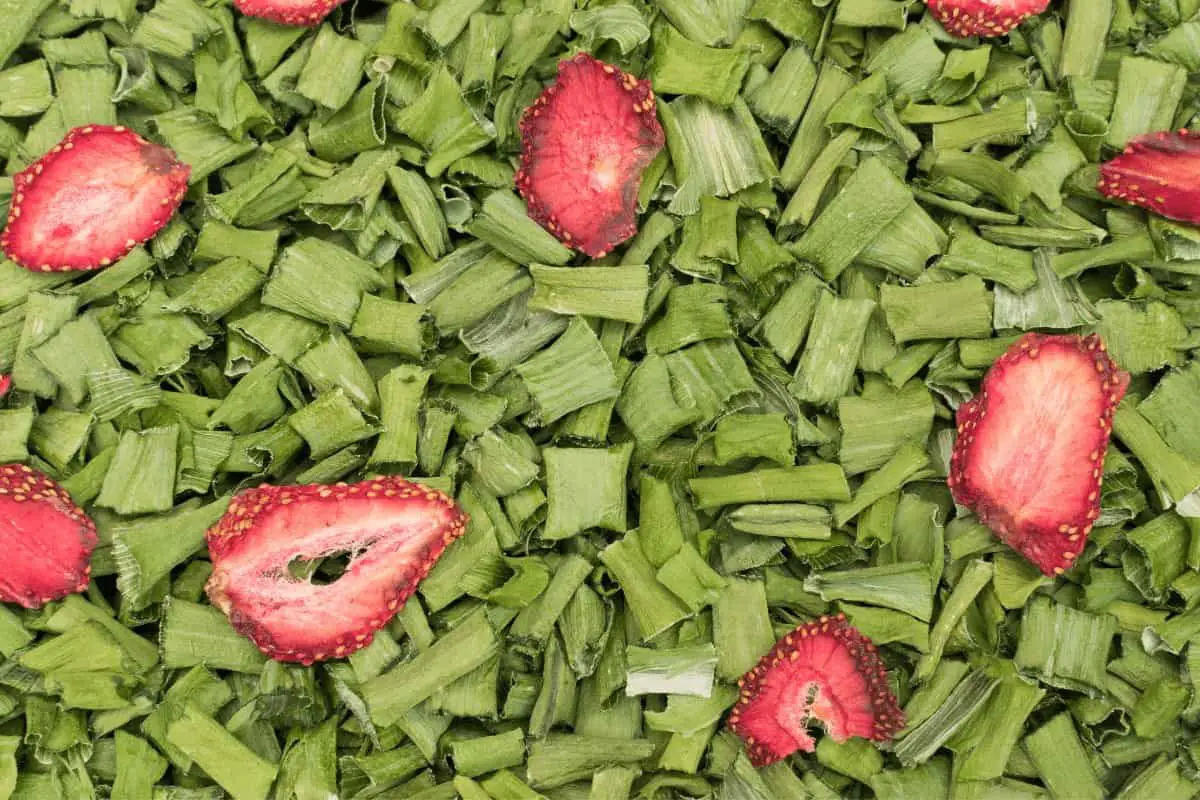
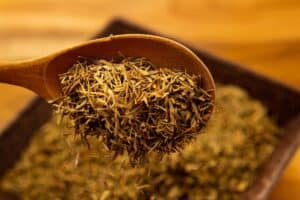
You can consume your dried microgreens as they come out from the dehydrator, or you can turn them into powder or flakes. To do this, you simply put your dried leaves in a blender. You keep it running until you get the result you want. If you don’t have a blender, you can also lightly crush the dry leaves until you are happy with the outcome.
It takes quite a lot of dehydrated plant matter to make enough powder. Keep in mind that food in general shrinks significantly as it loses moisture.
How to Dehydrate Microgreens with An Oven
If you don’t want to invest money but don’t mind spending time, you can use your household oven. Compared to using an electrical dehydrator it’s not as efficient, however, it can get the job done. It will require a longer time, and you will find that it’s more challenging to control the heat and hence the result.
Set the Right Temperature
Preheat your oven to the lowest heat, ideally at 140F. This will make the microgreens crisp and tasty. If it cannot be set that low, it must be less than 180F. Higher temperatures can cause your microgreens to cook and become burned, rather than dried.
Preparation
Remove the stems and wash the leaves. Always remove as much water as you can before you put them in the oven. This will reduce the drying time. Place the leaves on a tray on baking paper, evenly spread out. Don’t stack them on top of each other.
Ready for The Oven
Many ovens won’t give even heat, and that can cause some areas to dry faster than others. What you can do to ensure that all microgreens are dried evenly is to rotate the tray.
Using the oven can take anywhere from five to ten hours to fully dehydrate. As there is no manual, you have to check regularly to see when you believe they are ready. The results should be completely dry and crunchy microgreens that have reduced in size.
Using an oven is not as efficient as using a dehydrator because it requires more attention. Always monitor the drying process regularly, and you will find what works best using your oven.
Different Types of Dehydrators
If you are serious about regularly dehydrating your microgreens and other vegetables, you may want to invest in one which gives you better efficiency and control. There are also more economical options that work perfectly well.
Regardless of your choice, there are different features you should consider before making your buy:
- It should have a good fan that enables your food to dry evenly throughout the entire dehydrator.
- Automatic shut-off timer is a feature to ensure that you are left with the perfect result depending on the type of you are dehydrating.
- Getting the right-sized equipment depending on how much you are planning to use it.


Some Great Ways to Use Dehydrated Microgreens Are:
- Sprinkle over soup
- Use as ingredients for risotto, paellas, casseroles, and stews
- Mix in tomato sauce and add some extra taste
- Blend in smoothies
- Crispy topping for baked potatoes
- Seasoning for what you put on the BBQ
- Eat as it is, it serves as a great snack!
FAQ
It’s done by placing the food in an environment where the heat makes the water evaporate. When drying food, it eliminates the growth of bacteria and mold, and therefore they can be used for a long time.
Yes they can and it is a very easy and cost-effective way to make fruits and vegetables last longer, but what about Microgreens. That is a question I asked myself? Growing them is a quick process, and once they are harvested, you can store them fresh for up to two weeks. You may find yourself having more microgreens than you can eat and don’t want them to go to waste. There are ways to make your microgreens last longer.
Can microgreens be dehydrated? Yes, they can. In fact, dehydrating or drying microgreens is a great way to preserve nutritional value and make them last longer. Dehydrating your microgreens allows you to use them in a variety of ways. Plus, it is an affordable way to extend the life of your product.
Same as with other types of vegetables, by dehydrating your microgreens, you are increasing the ways that you can use them.
Some of the most popular ways that microgreens are used are by creating a powder that you can put in different smoothies or soups. They can also be stored as a flake similar to traditional dry herbs that can be added to salads or be used as seasonings in various recipes
The main benefit of dehydration is that it makes your microgreens last longer. It’s a great way to preserve them because it removes moisture, which is the main reason why foods go bad. Without moisture, they will not create fungi and bacteria.
It’s also very convenient to use dehydrated microgreens when you are out hiking or traveling. Removing the humidity makes the microgreens much lighter than fresh veggies, and you can use them as a snack or add taste and nutrition to other meals. They are lightweight, require less space, and you don’t need to pack them in a cooler.
Conclusion ~ How to make Microgreen powder?
It’s really easy to make your own microgreen powder at home! All you need is a blender and the right ingredients. First, add water or juice (we recommend using about 1/2 cup of liquid) to the bottom of your blender. Next, add in any leafy greens like kale or spinach – we suggest using one handful per batch for best flavor and color results. Then sprinkle in some ginger root and turmeric for added health benefits; adding more will increase both flavor and nutrition! Finally, top off with dried fruit like raisins or cranberries if desired before blending on high until smooth. That’s it—you’re done! Store extra batches in an airtight container in the fridge for later.
Latest Posts
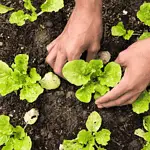
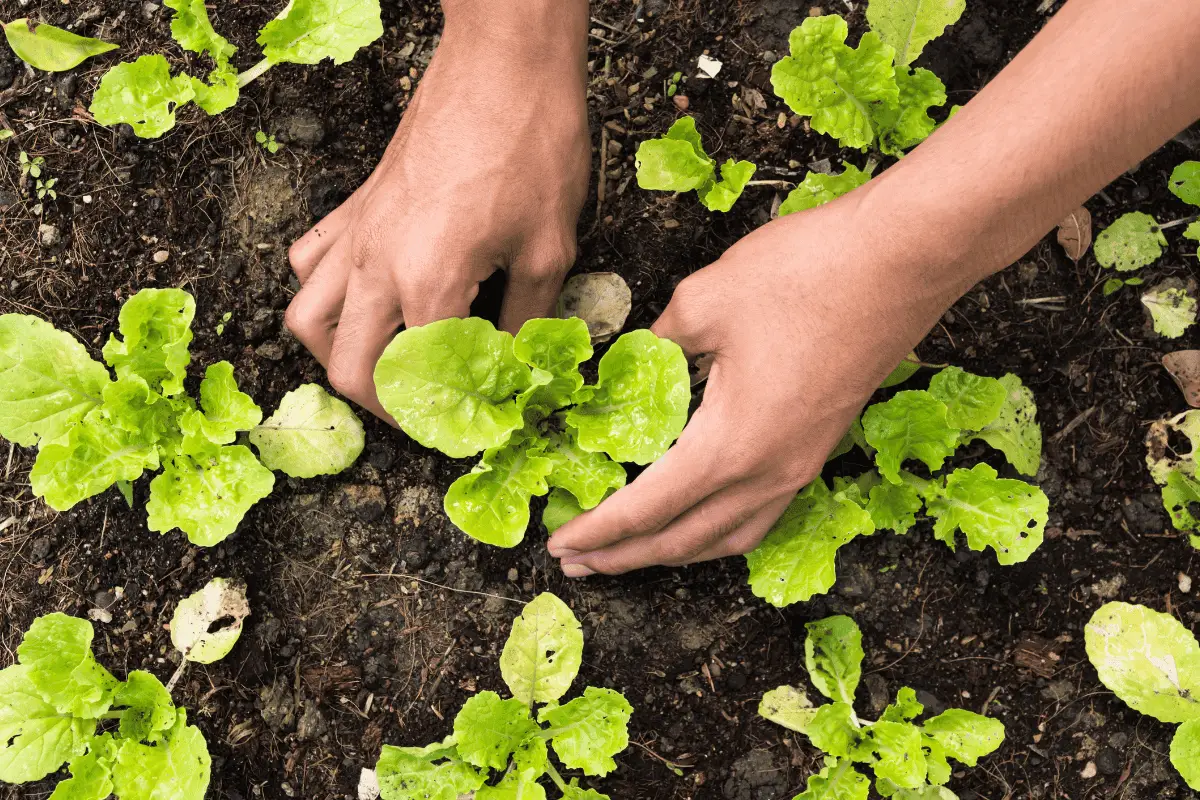
- What Types of Lettuces Can You Grow?
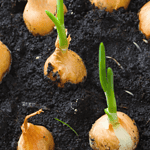
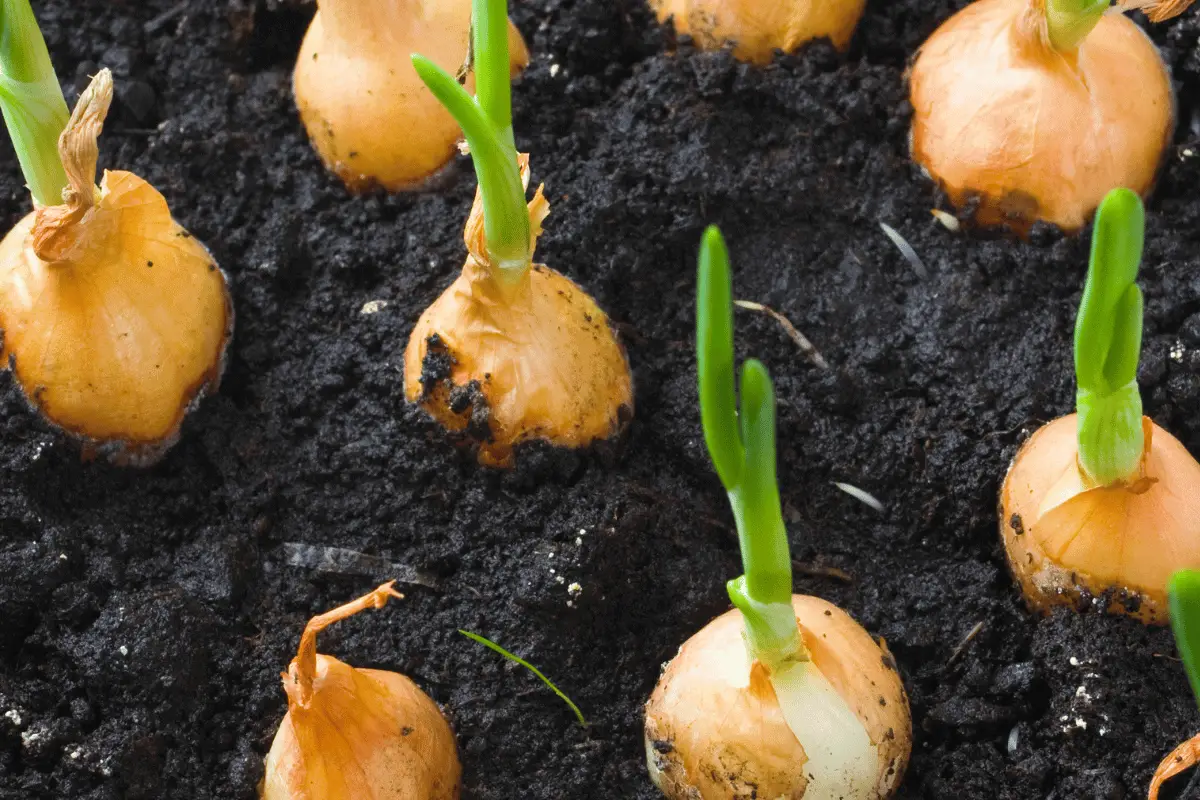
- How to Plant Onion Seeds for Maximum Germination
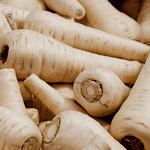
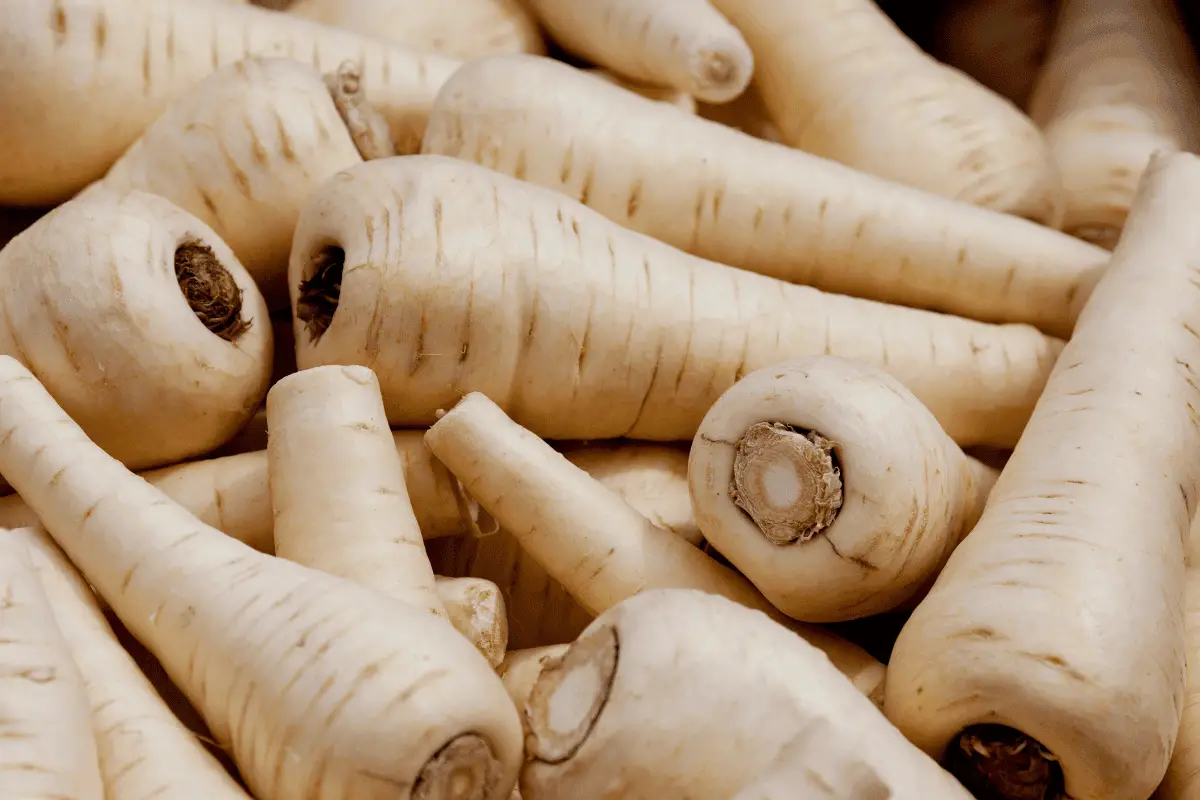
- How to Plant Parsnip Seeds for Maximum Germination
- How to Plant Mushroom Seeds for Maximum Germination

- How to Plant Lettuce Seeds for Maximum Germination

- How to Plant Kale Seeds: A Step-by-Step Guide to Maximum Germination Success!
5 responses to “How to Make Microgreen Powder ~ Q & A”
[…] hope you have enjoyed this article on how to grow beetroot microgreens. Most microgreens look alike, but that’s not the case with these beauties. The deep, red pigment of many beetroots […]
[…] coir has a near-neutral pH balance, it doesn’t provide many natural nutrients for your microgreens. Many growers use fertilizer in the water they add to their growing trays when using coconut coir […]
Thank you for your comment on my blog. I really appreciate it.
Thank you
[…] is the leading cause of microgreens wilting and falling over [1]. Microgreens have high water needs, and when they don’t receive […]