Introduction How to Plant Kale Seeds
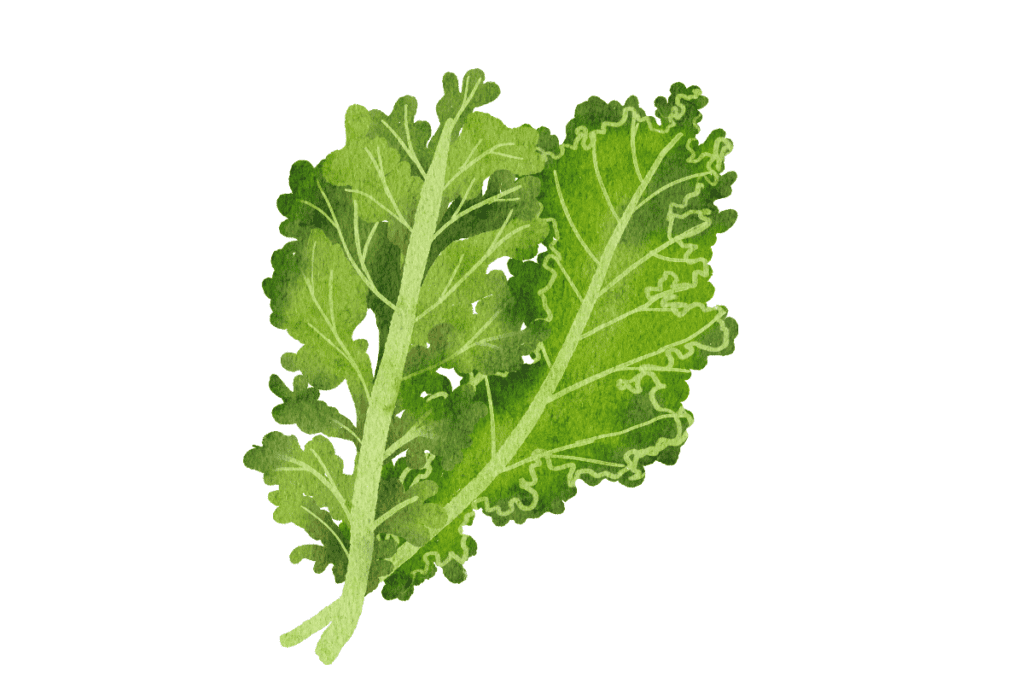
Welcome to the world of kale cultivation! Whether you’re a seasoned gardener or a greenhorn with a penchant for leafy greens, learning how to plant kale seeds effectively can be a game-changer. Kale isn’t just any ordinary vegetable; it’s a nutritional powerhouse packed with vitamins, minerals, and antioxidants.
In this comprehensive guide, we’ll walk you through the process of planting kale seeds step by step, ensuring maximum germination success and a bountiful harvest.
Getting Started How to Plant Kale Seeds
Before diving into the dirt, it’s essential to set yourself up for success. Start by selecting the right kale seeds suited to your growing conditions and preferences. Consider factors like variety, climate, and intended use—whether for salads, smoothies, or sautés. Next, prepare your planting area by clearing away debris, weeds, and rocks. Gather your gardening tools, including a trowel, rake, and watering can, to streamline the planting process.
Preparing the Soil
The key to healthy kale plants lies beneath the surface—the soil. Begin by testing the pH level of your soil using a soil testing kit. Kale thrives in slightly acidic to neutral soil with a pH range of 6.0 to 7.5. If your soil pH falls outside this range, amend it accordingly with organic matter or pH-adjusting supplements. Aim for well-draining soil rich in nutrients to promote robust kale growth.
Planting Kale Seeds
With your soil prepped and ready, it’s time to get down to business. Determine the appropriate planting depth and spacing for your kale seeds, typically around ¼ to ½ inch deep and 12 to 18 inches apart.
Scatter the seeds evenly across the prepared soil, covering them lightly with a thin layer of soil. Be sure to water the seeds thoroughly immediately after planting to provide essential moisture for germination.
Caring for Kale Seedlings
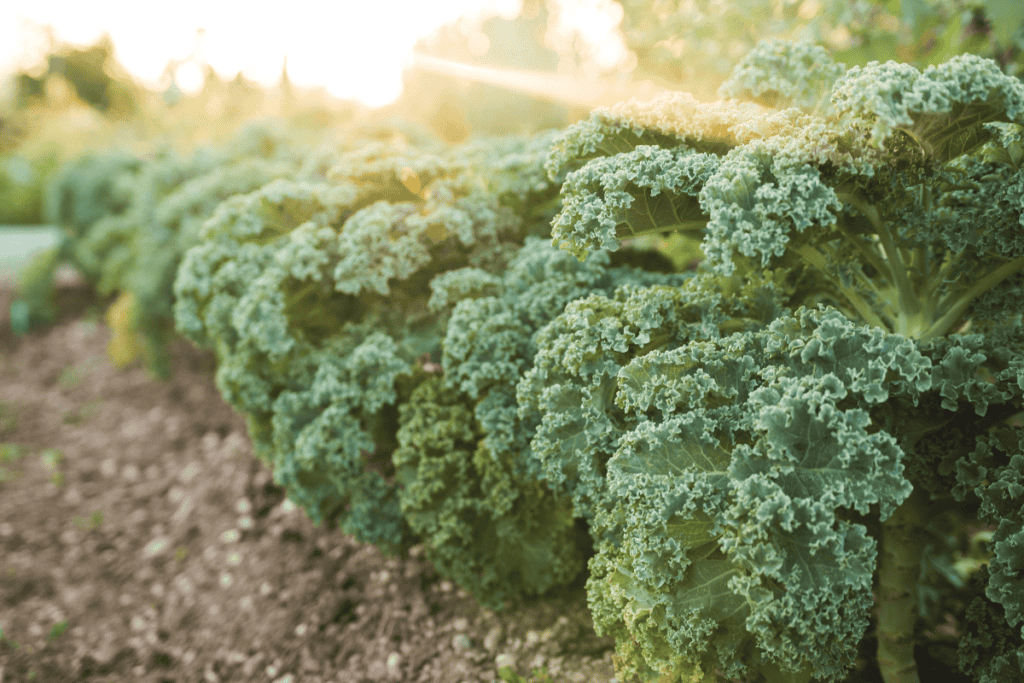
Once your kale seeds have sprouted, it’s crucial to provide them with optimal growing conditions. Position your seedlings in a location that receives at least 6 to 8 hours of sunlight daily, preferably in well-draining soil.
Establish a regular watering schedule, aiming to keep the soil consistently moist but not waterlogged. Additionally, consider fertilizing your kale seedlings every 2 to 4 weeks with a balanced fertilizer to encourage healthy growth.
Protecting Kale Seedlings
As your kale seedlings grow, they may encounter various pests and diseases eager to thwart your gardening efforts. Implement proactive pest control measures, such as hand-picking pests or applying organic insecticidal soap. Additionally, practice good garden hygiene by removing dead or diseased plant matter promptly to prevent the spread of disease among your kale crop.
Monitoring Growth
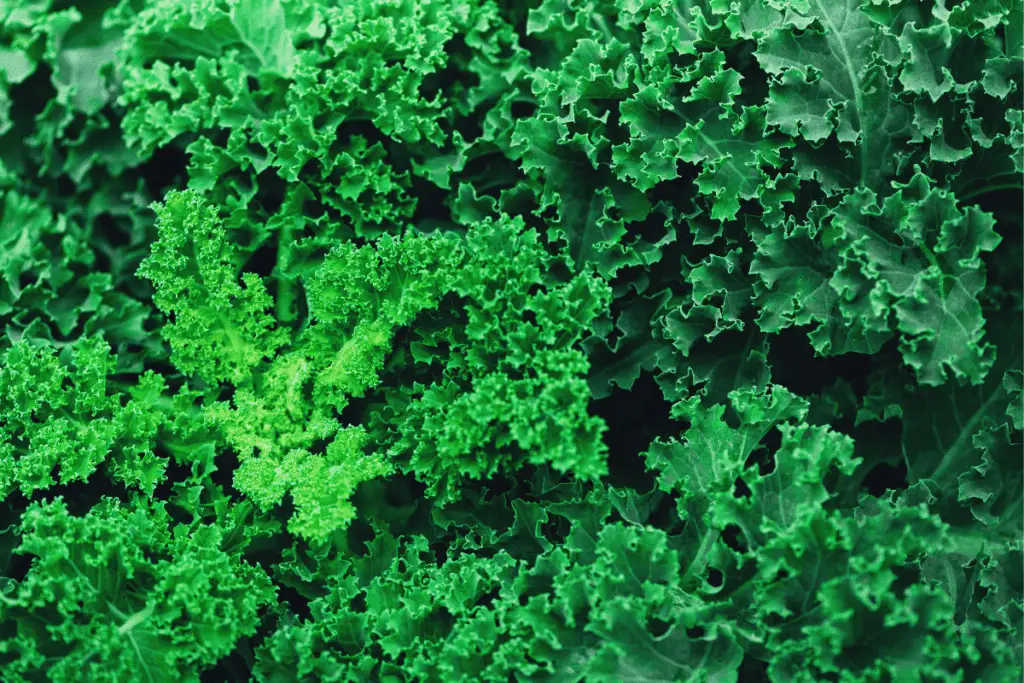
Keep a close eye on your kale seedlings as they progress from tiny sprouts to robust plants. Regularly inspect them for signs of healthy growth, including vibrant green leaves, sturdy stems, and vigorous root systems. Be on the lookout for any indicators of stress or nutrient deficiencies, such as yellowing leaves or stunted growth, and address them promptly to ensure optimal plant health.
Thinning Seedlings
As your kale seedlings mature, you may find that they’ve grown a bit too close for comfort. Thinning your seedlings allows the remaining plants ample space to flourish and reduces competition for resources like sunlight, water, and nutrients. Identify the strongest and healthiest seedlings for retention, gently removing the excess to maintain optimal spacing and promote robust growth.
Transplanting Seedlings (if applicable)
If you’ve started your kale seeds indoors or in containers, you’ll eventually need to transplant them into their permanent outdoor home. Wait until your seedlings have developed at least two sets of true leaves before transplanting to minimize transplant shock.
Choose a cloudy day or late afternoon to transplant, and be sure to water your seedlings thoroughly both before and after the transplanting process to promote successful establishment.
Harvesting Kale
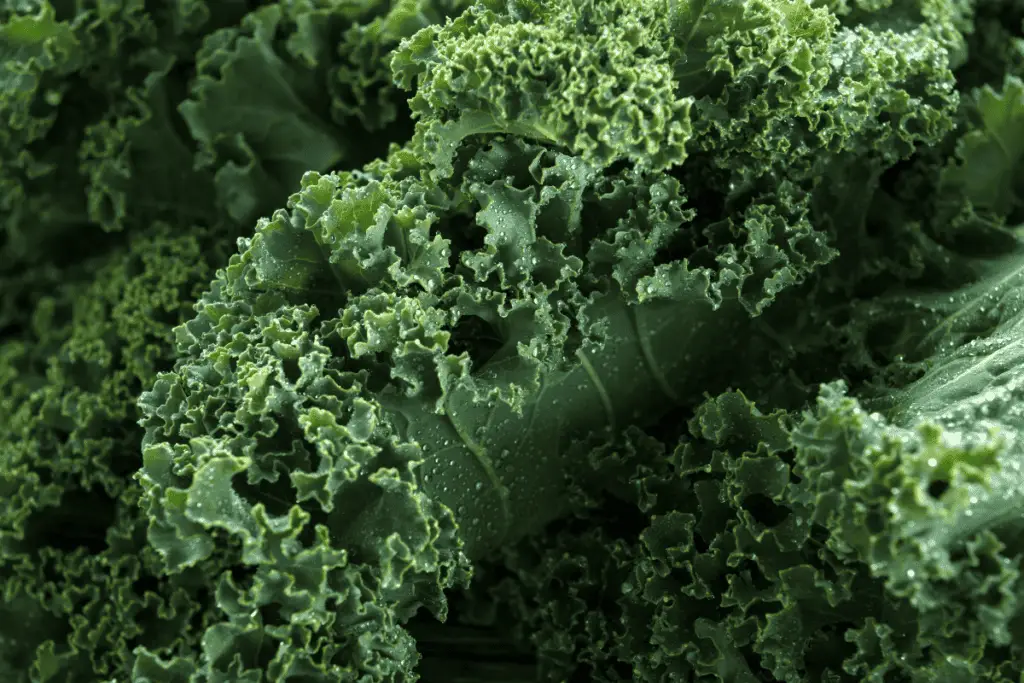
The moment you’ve been waiting for—harvest time! Knowing when to harvest your kale is crucial for optimal flavor and nutrition. Wait until the leaves reach your desired size, typically 8 to 10 inches in length, before harvesting. Use clean gardening shears to snip the outer leaves from the plant, leaving the inner leaves to continue growing.
Regularly harvest mature leaves to encourage continuous growth throughout the growing season.
Conclusion How to Plant Kale Seeds
Growing kale from seeds is a rewarding journey that allows you to enjoy the freshest and most nutritious greens right from your garden. By following the step-by-step guide outlined above, you’ve gained the knowledge and confidence to plant kale seeds successfully, nurture them through their growth stages, and harvest them for culinary delights.
Remember, gardening is as much about patience and observation as it is about technique. Embrace the process, learn from your experiences, and relish in the satisfaction of cultivating your own vibrant kale patch.
FAQs How to Plant Kale Seeds
How long does it take for kale seeds to germinate?
Kale seeds typically germinate within 5 to 10 days under optimal conditions, including adequate moisture and warmth.
Can I plant kale seeds directly in the garden, or should I start them indoors?
While kale seeds can be sown directly in the garden, starting them indoors allows for greater control over growing conditions and can result in earlier harvests.
What pests are most likely to attack kale plants, and how can I prevent them?
Common pests that may target kale plants include aphids, cabbage worms, and flea beetles. Implementing companion planting strategies, using row covers, and practicing regular inspection can help prevent pest infestations.
Do kale plants require a lot of water?
While kale plants need consistent moisture to thrive, they’re relatively drought-tolerant once established. Aim to keep the soil evenly moist, especially during dry periods, to promote healthy growth.
Can I harvest kale throughout the growing season, or should I wait until it reaches full maturity?
You can begin harvesting kale as soon as the leaves reach your desired size, typically around 8 to 10 inches in length. However, it’s essential to leave some inner leaves intact to encourage continuous growth. Harvesting regularly not only provides you with a steady supply of fresh kale but also promotes the development of new leaves, ensuring a bountiful harvest throughout the growing season.
Latest Posts
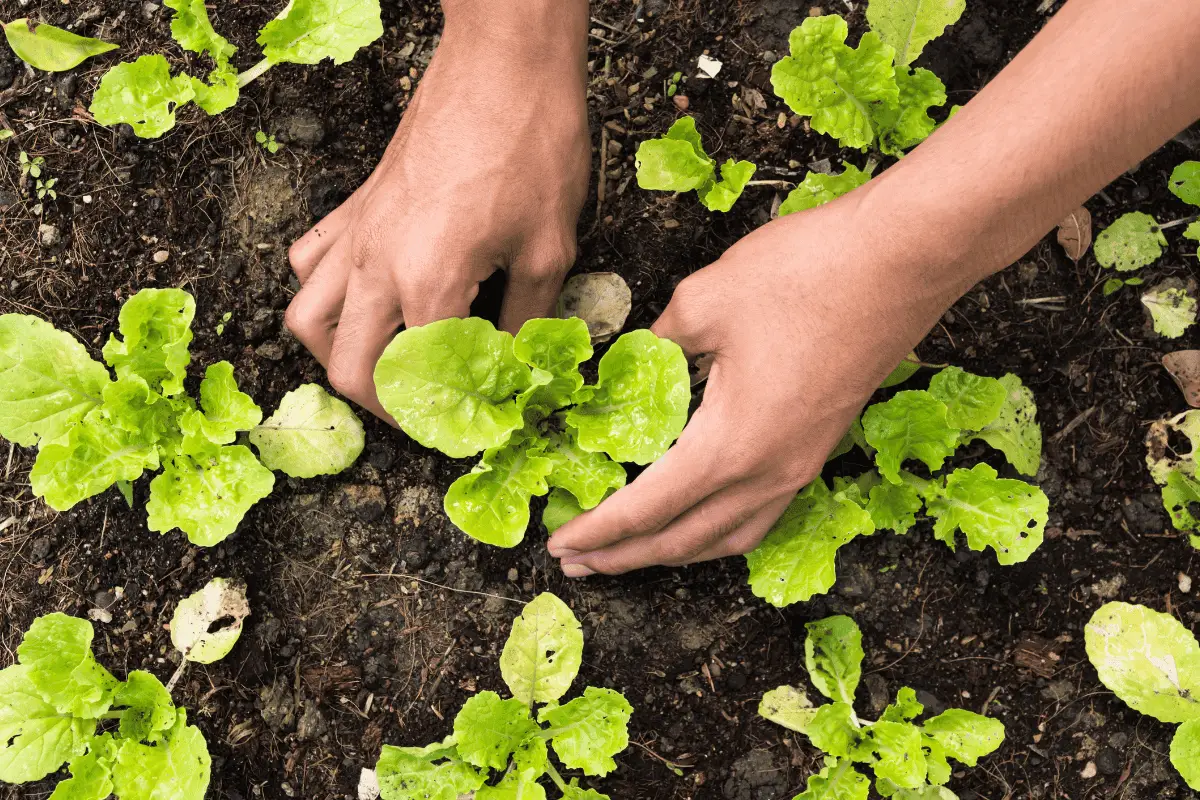
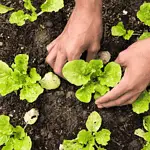
- What Types of Lettuces Can You Grow?
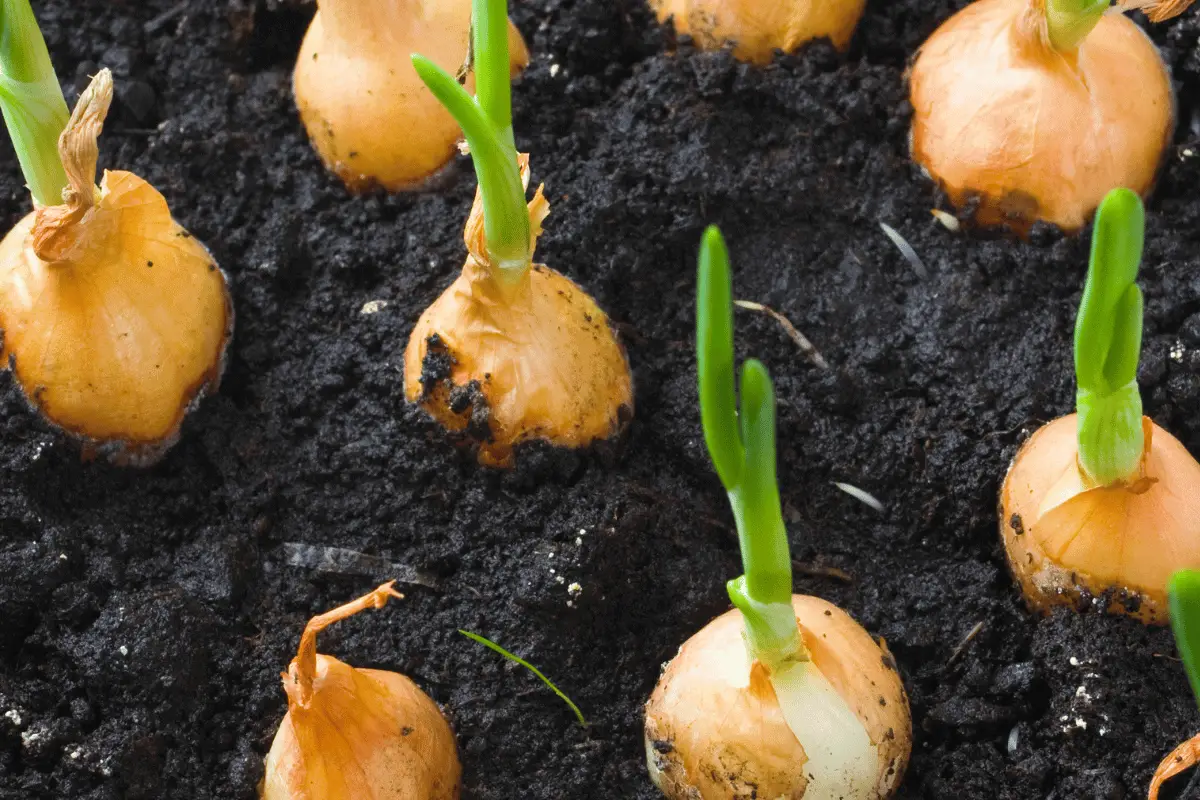
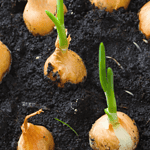
- How to Plant Onion Seeds for Maximum Germination
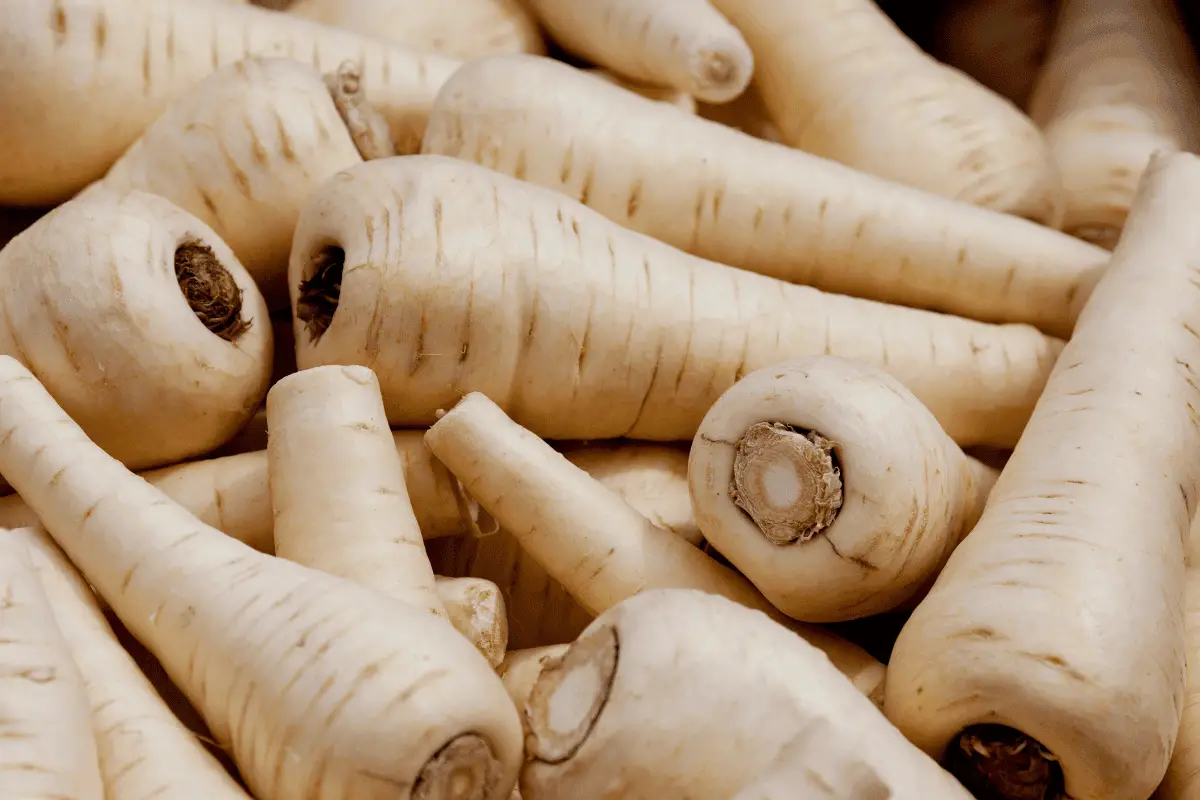
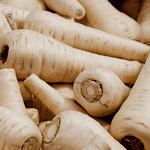
- How to Plant Parsnip Seeds for Maximum Germination
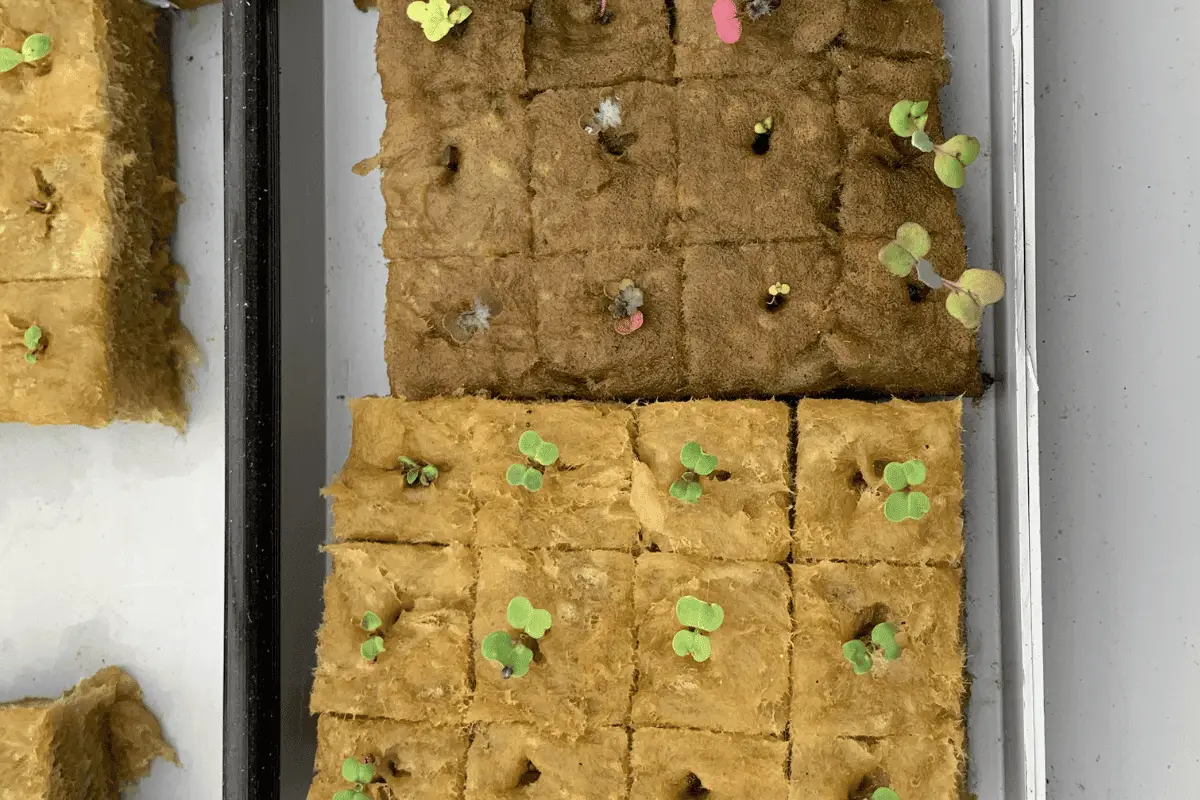
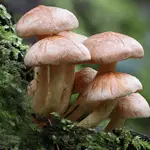
- How to Plant Mushroom Seeds for Maximum Germination
- How to Plant Lettuce Seeds for Maximum Germination

- How to Plant Kale Seeds: A Step-by-Step Guide to Maximum Germination Success!
Additional Information
https://en.wikipedia.org/wiki/Kale