Quick Answer for Can You Grow Mint From Grocery Store Cuttings?
Yes, you can grow mint from grocery store cuttings, as long as the cuttings are not too old and have not lost too much moisture [1]. The ideal time to take cuttings from mint is when the plant is in full growth in late spring, using sharp scissors or pruning shears to cut stems about 3 to 5 inches (8-10 cm) long.
Remove at least two or three leaves from the lower part of the stem but leave the top leaves intact. Once you have obtained the cuttings, you can place them in a glass of cool water so that the bottom 2 inches (5.1 cm) are submerged. Use a clear glass to easily see when the plant begins to grow roots and wait for the roots to grow for 1 to 2 weeks before planting the cuttings in the soil.
Introduction How To Grow Mint from Grocery Store Cuttings?
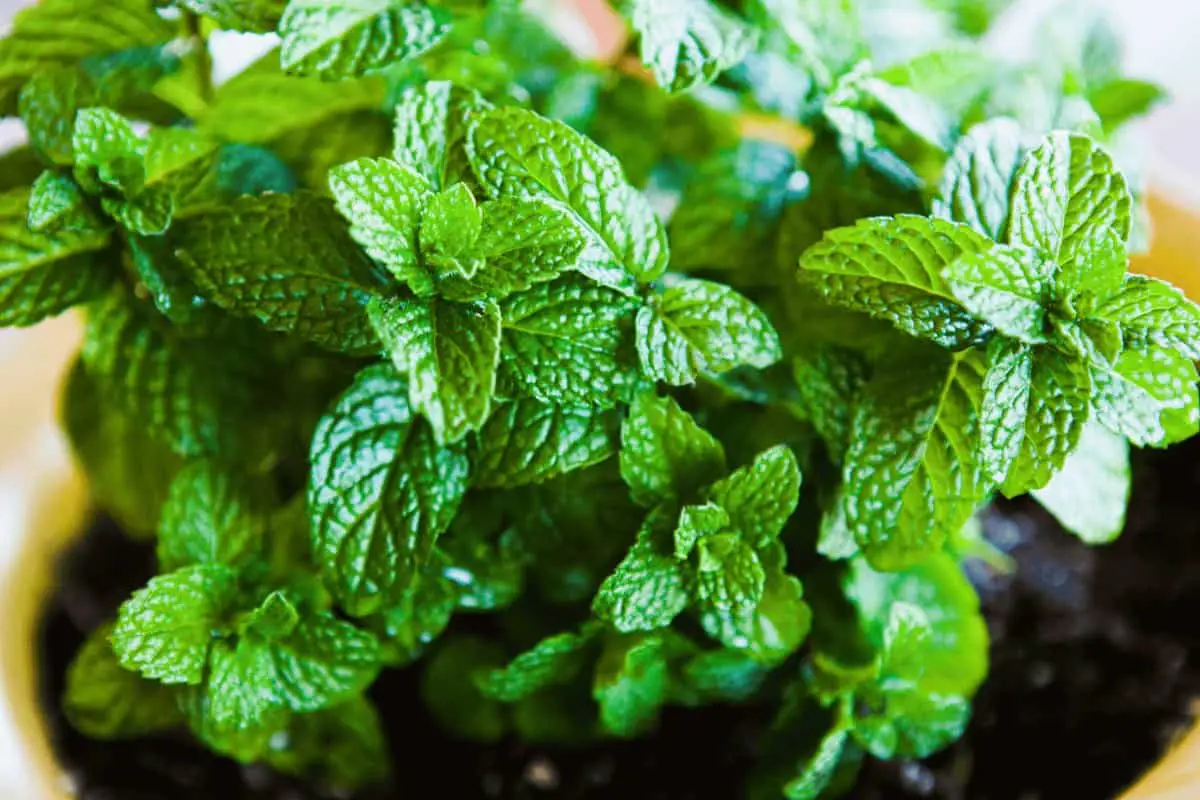
Mint is a popular herb that is often used for cooking, making tea and aromatherapy. If you’re a fan of mint, you may be interested in propagating it from cuttings. In this guide, we will discuss what mint cuttings are, how they differ from other propagation methods, the benefits of growing mint from cuttings, and provide a brief overview of the propagation process.
What Are Mint Cuttings?
Mint cuttings are a type of propagation method that involves taking a stem or leaf from a mature mint plant and growing it into a new plant. Cuttings can be taken from either the stem or leaves, and they can be rooted in either water or soil.
How Are Mint Cuttings Different from Other Propagation Methods?
Mint cuttings differ from other propagation methods, such as seed germination, in that they produce an exact replica of the parent plant. When you grow mint from seeds, the plant may not have the same characteristics as the parent plant. With cuttings, however, you can ensure that the new plant will have the same flavor, aroma, and appearance as the parent plant.
Benefits of Growing Mint from Cuttings
There are many benefits to growing mint from cuttings. First, it is a cost-effective way to propagate mint. Instead of buying new plants every season, you can simply take cuttings from your existing plants and grow new ones.
Second, it is an easy and reliable method for propagating mint. With the right conditions and care, cuttings can quickly root and grow into healthy plants. Finally, growing mint from cuttings ensures that you have a constant supply of fresh, flavorful herbs for cooking, making tea, or other uses.
Brief Overview of the Propagation Process
To propagate mint from cuttings, follow these steps:
- Select a healthy mint plant and cut a stem or leaf from it.
- Remove the lower leaves from the stem, leaving only a few leaves at the top.
- Place the stem or leaf in a glass of water or a pot with moist soil.
- Place the cutting in a bright location with indirect sunlight.
- Keep the soil or water moist and wait for the cutting to root and grow.[1]2][3]
Selecting and Preparing Mint Cuttings:
Mint is a popular herb that can be easily grown from cuttings. Grocery stores often sell fresh mint, making it a convenient source for obtaining cuttings. Here are some tips for selecting and preparing mint cuttings:
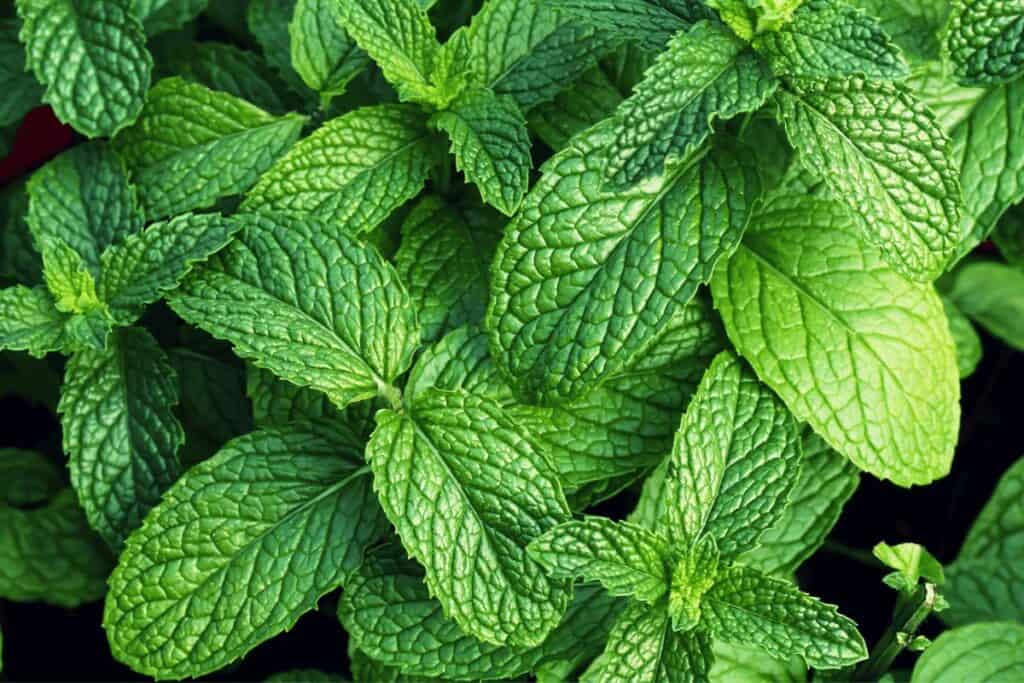
Choosing healthy mint cuttings:
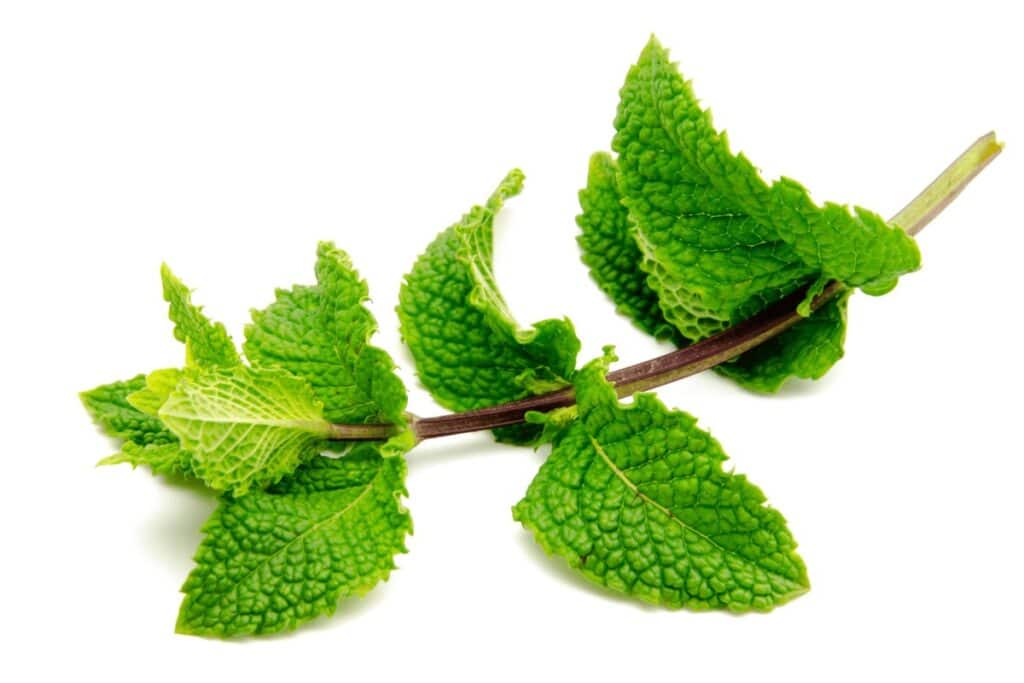
When selecting mint cuttings, look for healthy plants with vibrant green leaves and strong stems. Avoid plants with yellow or brown leaves, as these may indicate disease or damage [1].
Best time to take cuttings:
The best time to take mint cuttings is in late spring when the plant is in full growth. This is when the plant is most actively growing and will produce the strongest and healthiest cuttings. Cuttings taken later in the season may still root, but they may be weaker and take longer to establish [3].
Steps for preparing cuttings for propagation:
Step 1
Use sharp scissors or pruning shears to cut stems about 3 to 5 inches (8-10 cm) long.
Step 2
Remove at least two or three leaves from the lower part of the stem, but leave the top leaves intact.
Step 3
Trim the top growth from the stems as this reduces the surface area from which the plants can lose water
Step 4
Dip the cut end of the stem in rooting hormone (optional). Stick the cutting into a glass of cool water so the bottom 2 inches (5.1 cm) are submerged. Use clear glass so you can easily see when the plant begins to grow roots.
Step 5
Keep the pot indoors for a week, ensuring the compost stays moist. Once the plants have become established, transplant them into their final growing positions [1].
By following these simple steps, you can easily propagate your own mint plants from cuttings. Not only is it a cost-effective way to expand your garden, but it also ensures you have a fresh and steady supply of mint for culinary and medicinal purposes.
Propagating Mint Cuttings
Mint is a popular herb that can be easily propagated from cuttings. Here are some methods for rooting mint cuttings, tips for increasing success rate, and how to care for cuttings as they root and grow.
Methods for rooting mint cuttings:
- Water: Take cuttings from the top growth of your mint plant, about 8cm in length. Remove the lower leaves and cut the stem just below the leaf node. Place the stems in a glass of water and leave them in a light, airy place until the stems have taken root. Change the water regularly to prevent it from becoming stagnant [1].
- Soil: Fill a small pot with a good quality potting mix. Insert the mint cutting into the soil, making sure to bury it up to the first node. Water the soil well and cover the pot with a clear plastic bag to retain moisture. Place the pot in a warm, bright area and keep the soil moist until roots have formed [2].
Tips for increasing success rate:
- Use healthy and disease-free plants for taking cuttings [3].
- Take cuttings in the morning when the plant is hydrated and actively growing [3].
- Keep the cuttings in a warm, bright area but away from direct sunlight [1].
- Change the water or moisten the soil regularly to prevent the cuttings from drying out [1].
How to care for cuttings as they root and grow:
- Once roots have formed, transplant the cutting into a pot with well-draining soil [1].
- Water the plant regularly and ensure the soil remains moist, but not waterlogged [2].
- Fertilize the plant with a balanced fertilizer every four to six weeks [2].
- Trim the plant regularly to promote bushy growth and prevent it from becoming too leggy [1].
In summary, propagating mint cuttings can be done using water or soil. Tips for increasing success rate include using healthy and disease-free plants, taking cuttings in the morning, providing warm and bright but indirect light, and keeping the cuttings moist. Once the cuttings have taken root, care for them by transplanting into well-draining soil, watering regularly, fertilizing, and trimming.
Transplanting Mint Cuttings
Transplanting mint cuttings can be an exciting experience for gardeners, but it requires proper preparation and care to ensure the cuttings thrive. Here are some tips and steps to follow:
Signs that cuttings are ready to be transplanted:
Before transplanting the mint cuttings, it’s important to make sure they are well-rooted and strong enough to survive the transfer. A good sign that the cuttings are ready to be transplanted is when they have developed a thick root system and have produced new growth above the soil surface. This usually takes around 3-4 weeks, depending on the rooting method used [1].
Choosing the right potting soil and container:
When transplanting mint cuttings, it’s important to choose the right potting soil and container. Use a well-draining potting soil that is rich in nutrients and provides good aeration for the roots. Mint also prefers slightly acidic soil with a pH between 6.0 and 7.0. As for the container, choose one that is slightly larger than the root ball to allow room for growth, and make sure it has drainage holes to prevent water from pooling at the bottom [2].
Steps for transplanting cuttings and caring for them after transplanting:
- Carefully remove the mint cuttings from their current container or propagation medium, being careful not to damage the roots.
- Fill the new container with the potting soil, leaving enough space for the root ball.
- Place the mint cutting in the new container and gently pack the soil around the roots, making sure not to damage them.
- Water the plant thoroughly, allowing excess water to drain out of the bottom of the container.
- Place the plant in a location that receives bright, indirect sunlight and has good air circulation.
- Continue to water the plant regularly, but be careful not to overwater as mint prefers slightly moist soil, not waterlogged soil.
- Fertilize the mint plant with a balanced fertilizer every 4-6 weeks to ensure it receives the necessary nutrients for healthy growth [3].
With proper care, mint cuttings can thrive after transplanting and provide a flavorful addition to your garden or indoor space.
Common Problems and Solutions:
when propagating mint cuttings and some tips for preventing and addressing them
- Root rot: If the soil remains too wet or the container lacks proper drainage, the cuttings may suffer from root rot. To prevent this, be sure to use well-draining potting soil and a container with drainage holes [1]. Avoid overwatering and make sure the soil is only slightly moist. If root rot occurs, try to salvage the cuttings by carefully removing them from the soil, trimming away any rotted or damaged roots, and replanting them in fresh, well-draining soil [2].
- Mold and fungus: If the cuttings are kept in a damp or humid environment, they may develop mold or fungus. To prevent this, ensure the cuttings are not overcrowded and have proper air circulation. Avoid overwatering and remove any dead or decaying plant material promptly. If mold or fungus does develop, try to increase air circulation and reduce humidity. You can also use a fungicide spray or a homemade solution of water and vinegar to treat the affected area [3].
- Wilting or drying out: If the cuttings are not getting enough water or are exposed to too much direct sunlight, they may wilt or dry out. To prevent this, be sure to water the cuttings regularly but not excessively. Place them in a location with bright, indirect light and protect them from hot, direct sunlight. If the cuttings begin to wilt or dry out, try to increase the humidity around them by misting them with water or covering them with a plastic bag for a short period of time [2].
It is always a good idea to monitor the cuttings regularly and make adjustments as necessary to ensure they have the best chance of success.
Conclusion for Can You Grow Mint From Grocery Store Cuttings?
In conclusion, it is possible to grow mint plants from grocery store cuttings, as long as the cuttings are not too old and have not lost too much moisture [1]. When taking cuttings from a grocery store mint plant, make sure to cut stems that are about 3 to 5 inches long, and remove at least two or three leaves from the lower part of the stem but leave the top leaves intact [3].
The cuttings should be dampened in a glass of water and left in a sunny spot for 1 to 2 weeks until a root system develops [3; 2]. By following these steps, you can grow your own mint plants from grocery store cuttings and enjoy fresh herbs at home.
Propagating mint from cuttings is an easy and cost-effective way to ensure a steady supply of fresh mint. By understanding what mint cuttings are, how they differ from other propagation methods, and the benefits of growing mint from cuttings, you can successfully propagate your own mint plants. Remember to keep the cuttings in a bright location with indirect sunlight, and keep the soil or water moist to help them root and grow.
FAQS
Can you put mint cuttings straight into the soil?
Yes, you can put mint cuttings straight into the soil. However, using rooting hormone before planting the cuttings can help speed up the process and ensure healthy root growth. [1]
How do you transplant store-bought mint?
To transplant store-bought mint, follow these steps: (1) Choose a location that has well-draining soil and receives partial to full sunlight. (2) Dig a hole that is slightly larger than the root ball of the mint plant. (3) Remove the plant from its container and loosen the roots. (4) Place the plant in the hole and fill in with soil. (5) Water the plant thoroughly. [2]
How long does it take for mint cuttings to root in water?
It takes around 1 to 2 weeks for mint cuttings to root in water. After the roots are about 1 inch long, they can be transplanted into soil. [3]
How do you grow mint leaves from cuttings?
To grow mint leaves from cuttings, follow these steps: (1) Take stem cuttings from the top of the mint plant that is around 4 to 6 inches long. (2) Cut these just below a leaf node and remove the bottom 3 or 4 sets of leaves. (3) Dip the cut end into the rooting hormone. (4) Plant the cutting into soil, and water it thoroughly. (5) Keep the soil moist and place the plant in a spot with partial to full sunlight. [2]
Will mint cuttings root in water?
Yes, mint cuttings can root in water. Once the roots are about 1 inch long, they can be transplanted into soil. [3]
Can you grow mint cuttings indoors?
Yes, you can grow mint cuttings indoors. Mint grows well in containers and can be grown on a windowsill that receives plenty of sunlight. [2]
Can mint survive winter indoors?
Yes, mint can survive winter indoors. When grown indoors, mint requires cooler temperatures (around 60-65°F) and a bright, sunny location. [2]
How do you keep mint plants alive indoors?
To keep mint plants alive indoors, provide them with plenty of sunlight, well-draining soil, and moderate watering. Mint prefers to be slightly dry between watering, so be careful not to overwater. You can also fertilize the plant with a balanced fertilizer every few months. [2]
Does mint need sunlight to grow?
Yes, mint needs sunlight to grow. Mint requires at least 4 to 6 hours of sunlight each day, although it can also grow in partial shade. Without enough sunlight, the plant may become leggy and produce fewer leaves. [2]