Spring is the time of the year when our gardens come alive with a burst of colors and fragrances. One way to achieve this effect is by layering spring flowering bulbs in pots or garden beds. Layering bulbs means planting bulbs of different types and sizes in the same area, with the largest bulbs at the bottom, and the smallest ones at the top.
This technique guarantees a steady stream of colorful spring blooms throughout the season. In this article, How to Layer Spring Flowering Bulbs (Lasagna Planting) we will show you how to layer spring flowering bulbs for a beautiful and colorful garden.
Why Layering Spring Bulbs is a Great Idea
Layering spring bulbs offers several benefits, including:
- Longer blooming period: By layering bulbs of different types, you can extend the blooming period and enjoy colorful flowers for a longer time.
- Space-saving: Layering bulbs allows you to plant more flowers in the same area, which is ideal for small gardens or pots.
- Easy maintenance: Once planted, layered bulbs require minimal maintenance, making them ideal for busy gardeners.
- Natural-looking: Layering bulbs mimic the natural growth pattern of bulbs in the wild, creating a more natural and organic look in your garden.
How to Layer Spring Flowering Bulbs in Pots or Garden Beds
Layering spring bulbs is a simple and straightforward process that can be done in pots or garden beds. Here is how to do it:
Step 1: Choose Your Bulbs
The first step in layering spring bulbs is to choose the bulbs you want to plant. You can choose bulbs of different types, colors, and sizes, but make sure they are all suitable for your climate and soil type. Some popular spring flowering bulbs include tulips, daffodils, hyacinths, crocuses, and snowdrops.
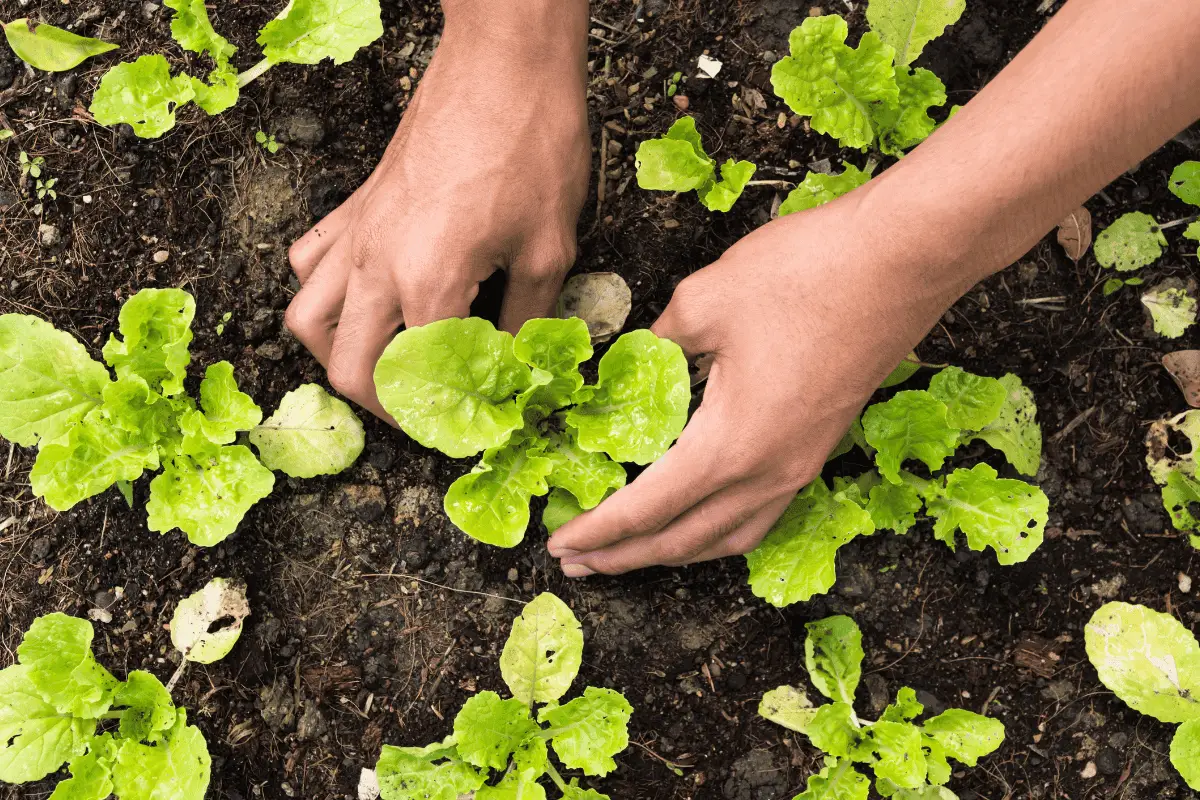
Step 2: Prepare Your Soil
Before planting your bulbs, prepare your soil by removing any weeds or debris and adding some organic matter, such as compost or well-rotted manure. This will help improve the soil structure and provide nutrients for your bulbs.
Step 3: Dig Your Hole
Dig a hole at least twice as deep as your tallest bulb, and about 6-8 inches wide. For instance, if you’re planting hyacinths, which are typically 8 inches tall, dig your hole 16 inches deep. This will allow extra room for roots once your plants start growing upward in their search for sunlight.
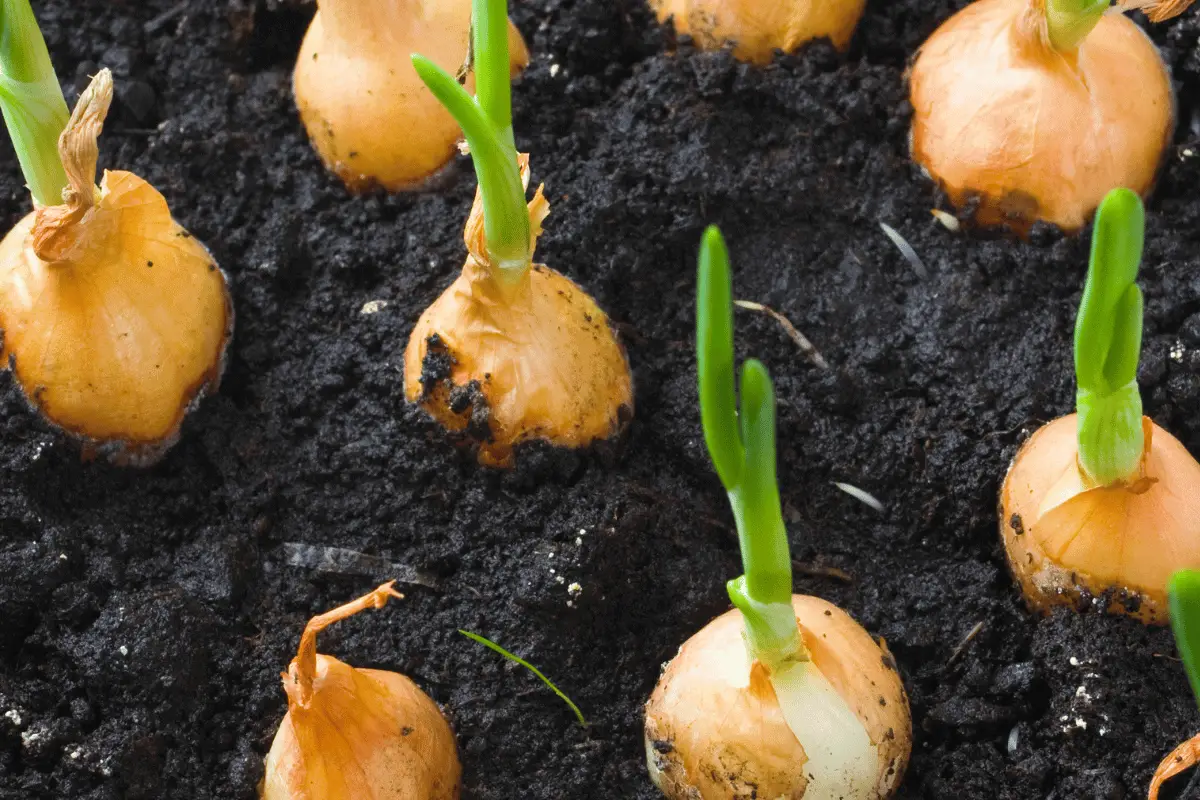
Step 4: Add Your Bulbs
Add a layer of coarse sand or gravel at the bottom of your hole to improve drainage. Place your largest bulbs, such as tulips or daffodils, in the bottom of the hole, with the pointed end facing upward. Cover them with a layer of soil, then add a layer of smaller bulbs, such as hyacinths or crocuses, and cover them with soil. Repeat the process until you have added all your bulbs, with the smallest ones at the top.
Step 5: Water and Mulch
Water your bulbs thoroughly after planting, and cover the soil with a layer of mulch, such as shredded leaves or bark chips. Mulch will help retain moisture in the soil, suppress weeds, and regulate soil temperature.
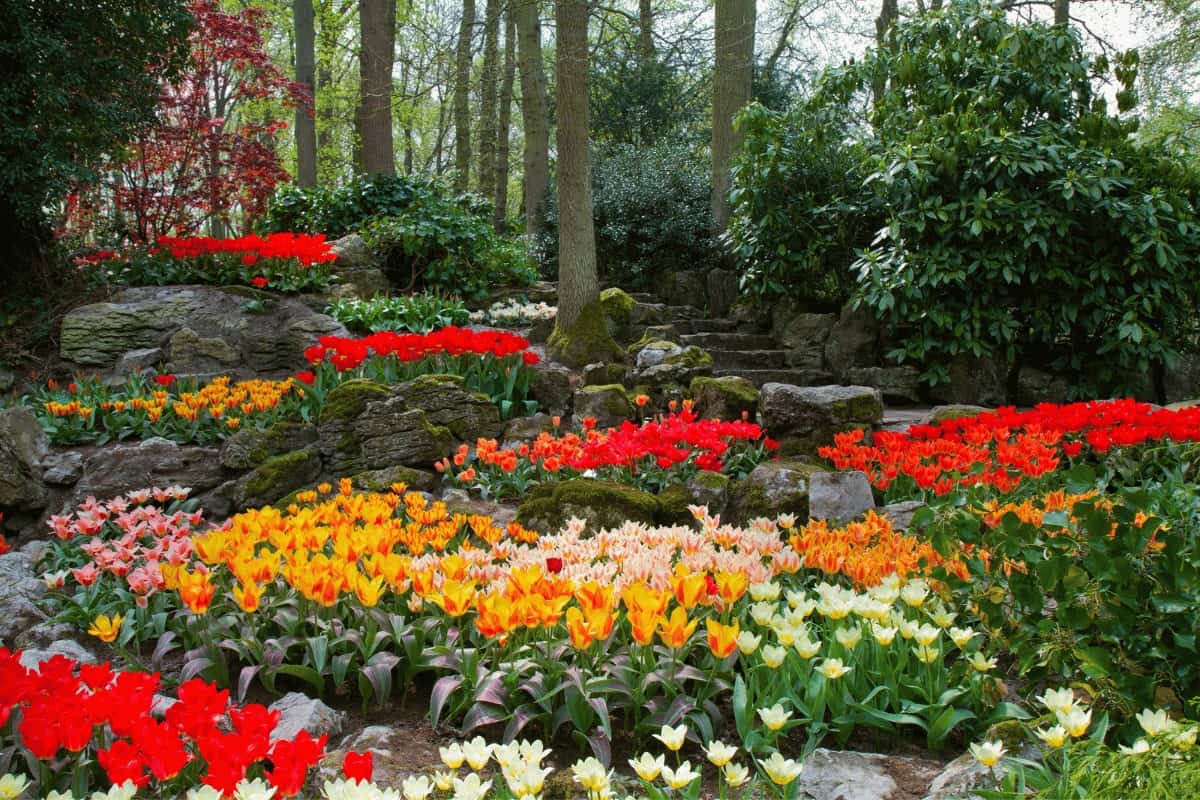
Step 6: Enjoy Your Blooms
Your layered bulbs will start growing and blooming in the spring, providing you with a steady stream of colorful flowers for weeks. Once the flowers fade, you can either leave the bulbs in the ground to naturalize or dig them up and store them for next year.
Conclusion
In conclusion, layering spring flowering bulbs is an effective way to create a stunning display of colorful blooms in your garden or containers. By choosing at least three different types of bulbs, planting them in the correct order according to their planting depth, and providing adequate drainage and nutrients, you can ensure a steady stream of blooms throughout the spring season.
Once the bulbs have bloomed and died down, you can easily transplant them to your garden for next year’s display. Whether you’re a seasoned gardener or a beginner, this technique is a simple and rewarding way to add beauty to your outdoor space. So grab your gardening gloves and get ready to create a beautiful spring display!
FAQS
Q: How do you layer spring flowering bulbs?
A: To layer spring flowering bulbs, start by choosing at least three different types of bulbs – some small, some medium, and some large [2]. Begin by preparing a pot or a hole in your garden bed. Cover the base with clay pebbles, followed by a layer of compost. Then, put the largest bulb or late-flowering bulb at the bottom, followed by a layer of compost. Repeat the process with the medium-sized bulbs, followed by a layer of compost. Lastly, add the smallest bulbs at the top and cover them with compost. Water well and wait for the flowers to bloom [3].
Q: How do I arrange bulbs in my garden?
A: To arrange bulbs in your garden, consider planting them in clusters of the same type or color. Alternatively, you can create a mixed display by planting bulbs of different colors and types in the same area. You can also arrange them in a line along a path or a border. Make sure to follow the planting depth requirements for each type of bulb and space them apart accordingly [1].
Q: How do you mix spring bulbs?
A: To mix spring bulbs, choose bulbs that have different bloom times and colors to create a long-lasting display. For instance, you can mix early-blooming crocuses with mid-season daffodils and late-blooming tulips. Another option is to mix bulbs of the same color but at different heights to create a layered effect. Make sure to follow the planting depth requirements for each type of bulb and to space them apart accordingly [1].
Q: What are the best companion plants to spring bulbs?
A: Some good companion plants to spring bulbs include perennial flowers such as dianthus, forget-me-nots, and primroses, which can fill the gaps in the garden after the bulbs have finished blooming. You can also plant annuals such as pansies and violas to provide color while the bulbs are still growing. Another option is to plant bulbs with groundcovers such as creeping phlox or ajuga to create a carpet of the color [1].
Q: What do you fertilize spring bulbs with?
A: Spring bulbs do not require much fertilizer, but you can add some slow-release fertilizer to the soil when planting to help them establish. Alternatively, you can top-dress the soil with compost or well-rotted manure in the fall or early spring to provide the bulbs with nutrients. Avoid fertilizing after the bulbs have started to grow, as this can lead to soft growth and damage the bulbs [1].
Q: How do you plant spring bulbs around perennials?
A: To plant spring bulbs around perennials, start by clearing the area around the perennials to make space for the bulbs. Dig individual holes for each bulb, taking care not to disturb the roots of the perennials. Alternatively, you can plant the bulbs