
In this blog post, we will be discussing the best ways to tape your feet for hiking and how you tape your feet for hiking? If you are a hiker or camper and have been having trouble with how to go about taping your feet properly, then this article is perfect for you!
We discuss the different methods of taping as well as what materials you need. This article provides a step-by-step guide on how to tape up your feet so that it’s suitable for wearing boots and going out into the wilderness.
How Do You Tape Your Feet?
In order to tape your feet for hiking, you need to gather some supplies first. You’ll need athletic tape, scissors, and a bowl of water.
Once you have your supplies, cut a piece of athletic tape that is long enough to go around your foot. Make sure that it’s not too tight or too loose. Wet the adhesive on the back of the tape and place it on your foot. Make sure to smooth out any bubbles and make sure that the tape is firmly in place. Repeat this process until your entire foot is covered in tape.

You can also use athletic tape to protect against blisters. Cut a piece of tape that is about 2 inches wide and shape it into a bandage. Cover the blister with the tape and make sure to smooth out any bubbles. The athletic tape will help to protect the blister from popping and becoming infected.
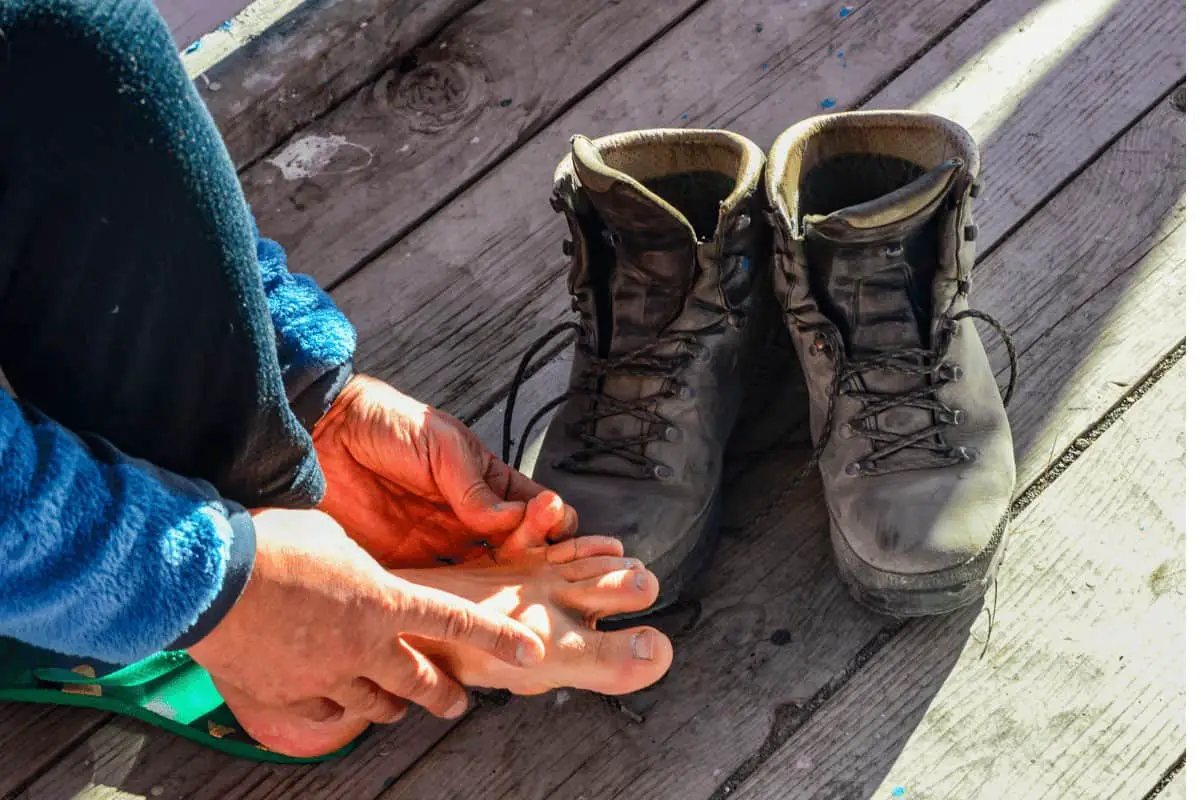
If you’re going on a long hike, it’s important to take care of your feet. Taping them up with athletic tape is one way to do that. Make sure to test out the taping process before your big hike. If you’re planning to take on a long trail, here are some tips for how to tape your feet for hiking.
– Make sure that the athletic tape is securely in place.
– Protect against blisters by covering any hotspots with tape.
– Take care of your feet by taping them up before a long hike.
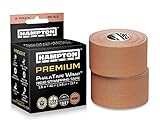
BSN Medical BEI076168 Leukotape P Sports Tape, 1 1/2 Inch x 15 Yard

Is It Bad to Tape Your Feet?
There is no right or wrong answer to this question, as everyone’s feet are different. Some people find that taping their feet helps them hike longer distances with less pain, while others find that taping their feet makes their feet feel stiff and constricted. The best way to find out if taping your feet is right for you is to try it out and see how it feels.
How Do You Tape up Feet to Prevent Blisters?
There are a few things you can do to tape your feet for hiking in order to prevent blisters from forming. The most important thing is to make sure that the tape is applied evenly and securely. You can use athletic tape or duct tape for this.
Start by cutting a piece of tape that is about six inches long. Fold it in half so that the sticky sides are together. Then, press it against the skin on the bottom of your foot, directly in the middle. Make sure that it’s secure, and then repeat on the other foot.
Next, cut two more pieces of tape that are each about four inches long. Place one piece on either side of the first piece, directly above and below it. Make sure that you apply these pieces fairly evenly.
Finish the process by cutting two more pieces of tape, also four inches long. Place one piece on either side of your foot, directly above and below both of the other strips. Again, make sure to be careful about applying it evenly here as well! After all of this is done, you can hike around without worrying about getting blisters.
Should You Tape Blisters?
There are a few considerations that you should take into account when you are deciding whether or not to tape blisters. If the blister is painful, then it is probably best to tape it. If the blister is broken, then you should definitely tape it. In general, though, it is usually best not to tape blisters, because this can cause them to become infected.
What Is the Best Tape for Blisters?
There are a few different types of tape that can be used for blisters. Some people prefer to use duct tape, while others prefer to use sports tape. The type of tape that you use is really up to you.
If you are using duct tape, make sure that you wrap the tape around your foot in a spiral pattern. This will help to ensure that the tape stays in place. Make sure to overlap the edges of the tape as well.
If you are using sports tape, make sure that you use a tape with little or no stretch to it. This will help the tape stay in place better. If you are using sports tape, make sure to wrap your foot in an “X” pattern as well as wrap around the edges of blisters for extra support.
Hiking is more enjoyable when your feet are comfortable.
What Causes Blisters?
As you hike, your boots and socks rub against your feet, moving the thick outer layers of your skin more than the sensitive inner layers, which causes them to begin to separate. This is a “hot spot.” Ten minutes of rubbing later, and fluid has fully filled the void between your skin layers. This is a blister. Moisture (from sweat or a river crossing) accelerates this process.
To illustrate, imagine rubbing your thumb against the skin of a ripe peach. The skin moves under your finger. If you press harder, the skin wrinkles, then tears. The same process is at work on your skin: the outer layers can move more than the sensitive inner layers can, and with enough moisture and friction, they suffer damage—a blister.
Conclusion
We hope you have found this article helpful and that it has answered the question of how do you tape your feet for hiking? Also, any concerns that you may have had about taping your feet for hiking. We discuss the different methods of taping as well as what materials you need. This article provides a step-by-step guide on how to tape up your feet so that it’s suitable for wearing boots and going out into the wilderness.